
Welcome to the world of baking where deliciousness meets creativity! If you've ever found yourself struggling to create that perfect, airy whipped cream that transforms your desserts from ordinary to extraordinary, you're not alone. Many aspiring bakers face this same challenge. But fear not! A whipped cream canister is here to revolutionize your whipped cream game. In this article, we will explore how to harness your baking potential using a whipped cream canister. We'll guide you through tips and tricks that guarantee perfect whipped cream every time. Let's get started!
Understanding the Whipped Cream Canister
The whipped cream canister, also known as a whipped cream dispenser, is a kitchen gadget that allows you to create whipped cream quickly and easily. This essential tool uses nitrous oxide (N2O) to aerate the cream, creating a light and fluffy texture. Understanding how to use this gadget effectively will take your baking to the next level!
The Components of a Whipped Cream Canister
- Canister: This is where the cream is stored. Look for a robust design to ensure durability.
- Whipping Head: The part that dispenses the whipped cream. It should have a tight seal for optimal performance.
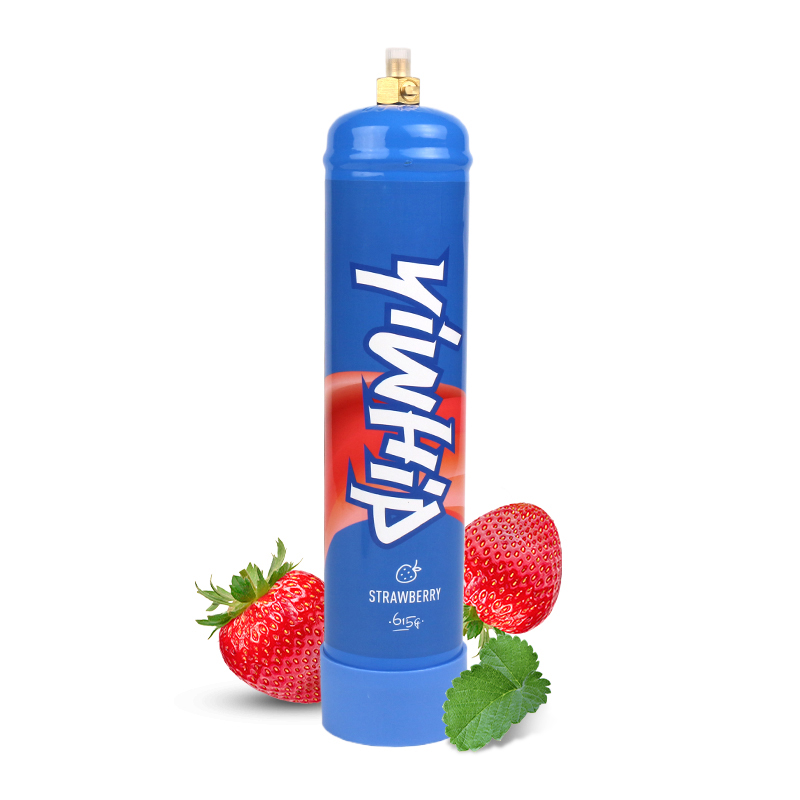
- Nitrous Oxide Chargers: These are small cartridges that provide the gas needed to whip the cream.
Preparing to Make Whipped Cream
Before you dive into making whipped cream, it's crucial to prepare accurately. Here’s how you can set yourself up for success.
Choosing the Right Ingredients
The quality of your ingredients matters! Always opt for:
- Heavy Whipping Cream: This is essential because it has a higher fat content, resulting in richer flavor and better stability.
- Sweetener: Whether it’s powdered sugar, granulated sugar, or flavored syrups, choose one that complements your dish perfectly.
- Flavorings: Vanilla extract, cocoa powder, or fruit purees can add unique flavors to your whipped cream. Experiment freely!
Step-by-Step Guide to Making Perfect Whipped Cream
Now that you have your ingredients, let's walk through the process of creating mouthwatering whipped cream.
Step 1: Prepare Your Canister
Start by ensuring your canister and all its components are clean. This step is essential for preventing unwanted flavors and maintaining hygiene.
Step 2: Add Ingredients
Pour the heavy whipping cream into the canister, filling it no more than two-thirds full. Add your sweetener and any desired flavorings. Remember, less is often more when it comes to flavoring—taste as you go!
Step 3: Charge the Canister
Secure the whipping head tightly and insert a nitrous oxide charger into its designated area. You'll hear a hissing sound as the gas mixes with the cream—this is a good sign! Shake the canister vigorously for about 10 seconds to ensure the ingredients are thoroughly combined.
Step 4: Dispense with Confidence
Hold the canister upside down over your dessert and gently squeeze the lever to dispense the whipped cream. Practice different angles and pressures to achieve the desired swirl or dollop! Always clean the nozzle after use to prevent clogging.
Tips for Perfect Whipped Cream Every Time
Here are some expert tips to ensure you create delightful whipped cream without a hitch:
Keep Everything Chilled
The temperature of your ingredients plays a crucial role in emulsifying air into the cream. Chill the canister, whipping cream, and any additional ingredients beforehand to achieve better results.
Experiment with Sweeteners
Don’t hesitate to try different sweeteners. For a refined flavor, consider using honey, maple syrup, or agave nectar. Each will offer a distinct taste that can complement various desserts beautifully.
Stabilizing Your Whipped Cream
If you need your whipped cream to hold its shape longer (perfect for cakes and cupcakes), try adding a stabilizer! Options include:
- Gelatin: Dissolve one teaspoon of gelatin in two tablespoons of warm water and add it to your whipping cream before charging.
- Pudding Mix: Adding a tablespoon of instant pudding mix can also help stabilize your whipped cream.
Creative Uses for Whipped Cream
Whipped cream isn't just for topping desserts! Here are some creative ways to utilize this heavenly topping:
Enhancing Beverages
Add a fluffy swirl of whipped cream on top of your favorite hot cocoa, coffee, or milkshake. You could even experiment by adding flavorings to the whipped cream to create personalized drinks.
Creating Layered Desserts
Whipped cream is an excellent ingredient for layered desserts like trifles and parfaits. Layer it with fruits, cakes, or cookies for a stunning presentation and tasty treat!
Decorating Cakes and Cupcakes
Give your cakes and cupcakes a professional finish. Use your whipped cream to create stunning decorations that will impress your guests!
Common Mistakes to Avoid
Over-Whipping
It’s easy to get carried away while whipping cream, but over-whipping leads to a grainy texture and eventually butter. Stop once you see thick peaks!
Not Chilling Properly
Skipping the chilling step can leave you with soft whipped cream that doesn’t hold its shape. Make this a non-negotiable step in your process.
Using Low-Fat Cream
This may lead to disappointing results. Choosing full-fat heavy cream is essential for achieving that luscious whipped cream texture and flavor.
Conclusion
With a whipped cream canister in your kitchen arsenal, you have the power to transform your desserts and beverages effortlessly. By following these tips and tricks, you can turn the humble whipped cream into a show-stopping feature of your culinary creations.
Remember, the key to perfect whipped cream lies in choosing quality ingredients, understanding your canister, and practicing your technique. So, gear up, embrace your creative spirit, and unlock your baking potential today! Before you know it, you'll be a master in the art of whipped cream.